This art tutorial is about how to make a realistic digital drawing of a bucket from a life object.
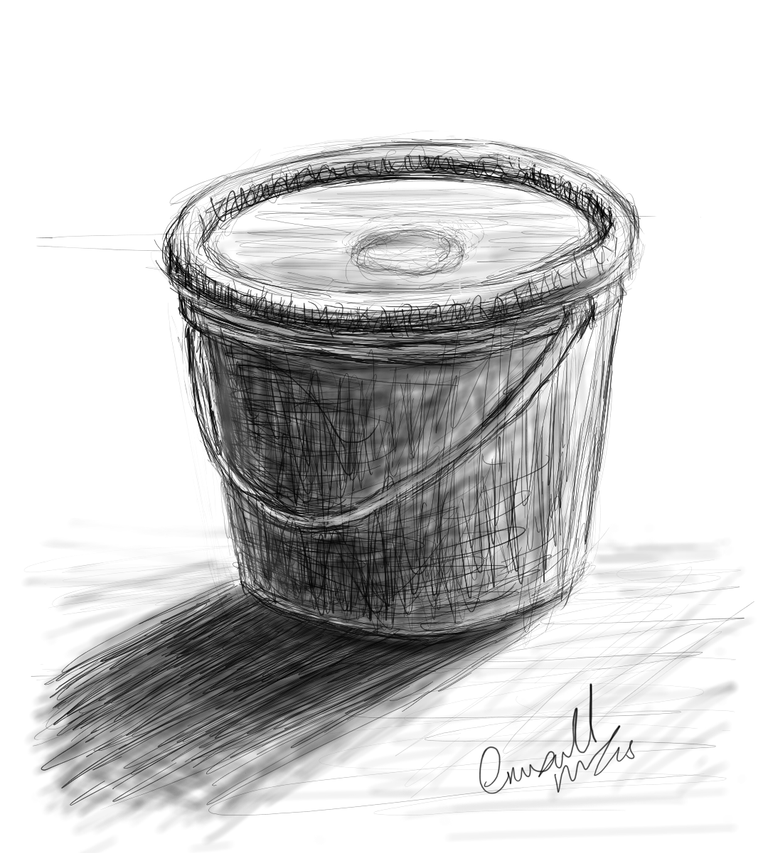
So this is a still life drawing where I placed a custard rubber bucket with a cover on a ground and I stood in an angle of 30 degree watching it from a close range while the light comes from the opposite angle.
AutoDesk sketchbook application is what I used here along with my S-pen.
Step 1
Before starting out, observe the length and the width of what you intend to do. Here, I noticed that the length is greater than the width so I opted for a portrait sized paper.
Step 2
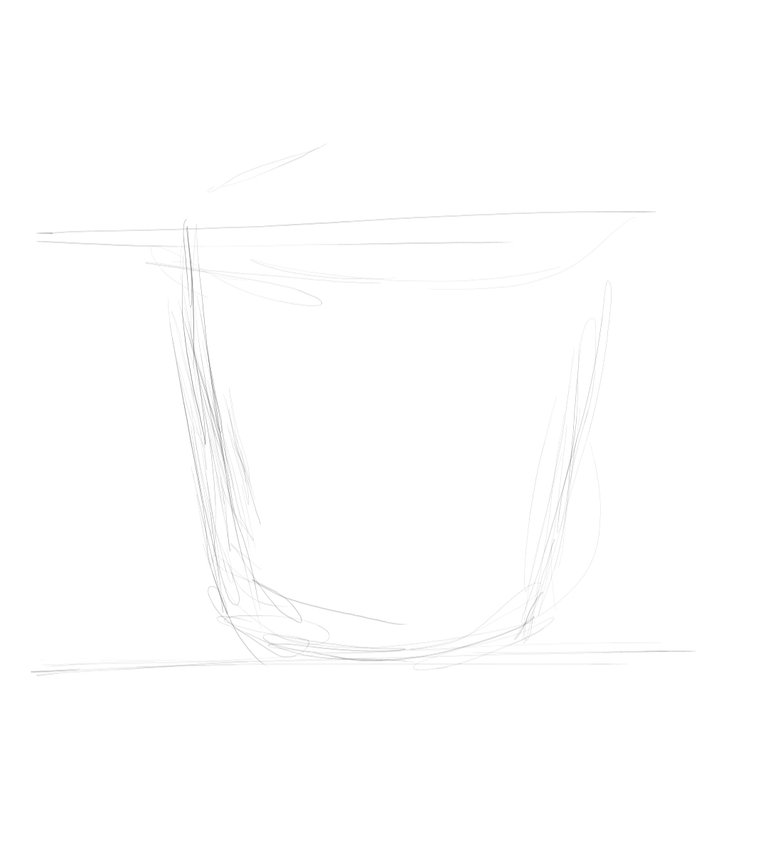
Here, I marked out 3 faint lines which represented my sky, horizon and base. Utilizing these 3 things properly is what would help your work position in the right place. The major area is the horizon where the work will majoruty fall in.
Step 3
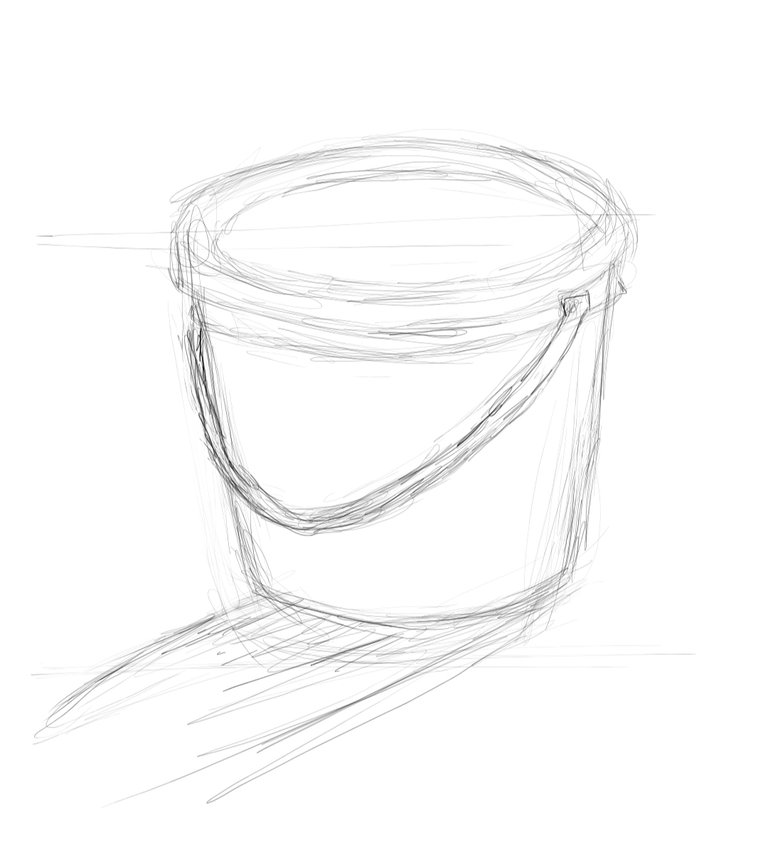
In this stage, I made the outline sketch of my object. If I'm not satisfied with the outcome, I can go ahead and erase it then resketch another. When satisfied I can comfortably move to another stage.
Step 4
In this stage, I started adding shade. The first would br lighter shades then I overlay it with darker ones. You could see I had a combination of shadings - scribbles, crossing hatching and hatching. It all depends on how you feel and what you want to accomplish.
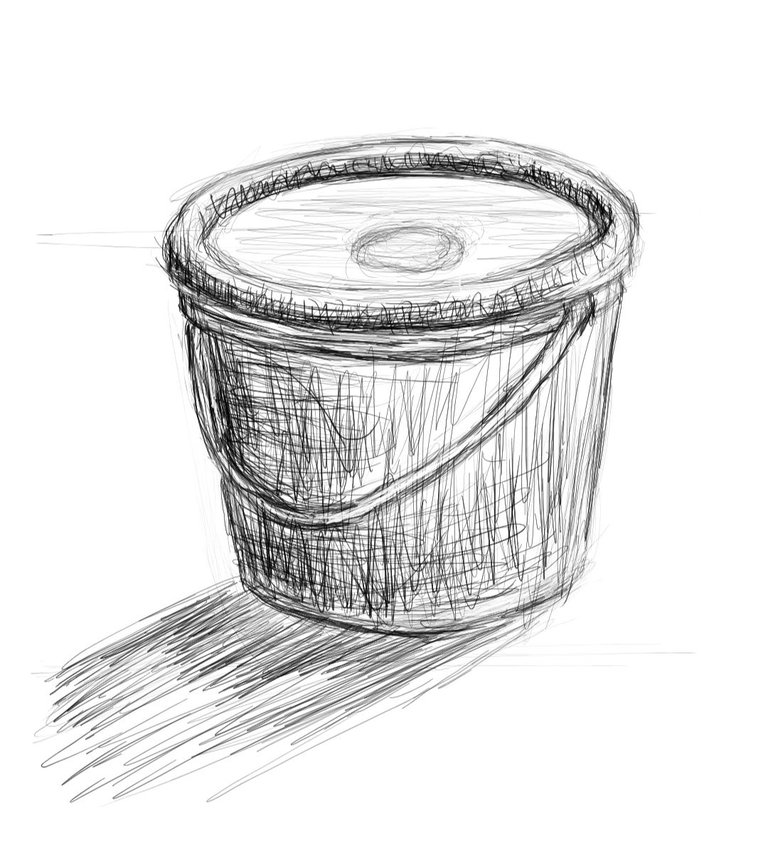
Step 5
This could be the final stage. Here I did a lot more work by added more shadings and darker tones. I also applied blurring to give life to the work.
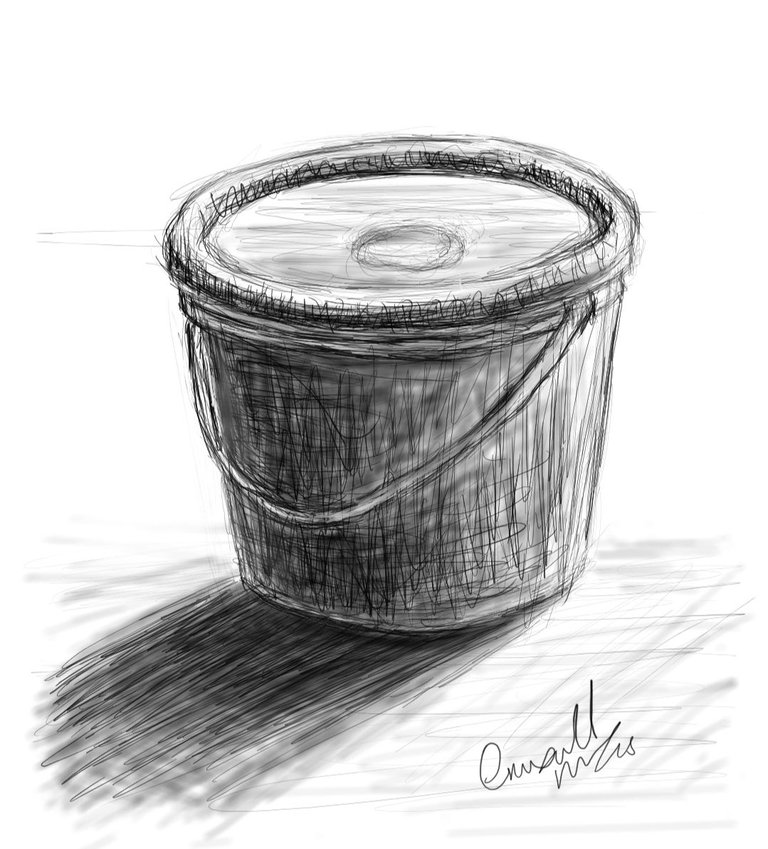
I actually combined it with stage 6 where I added a few base and shadows on the object. There is also a reflected light within which separates the shadow and the object.
Thank you for stopping by to view this Artwork.
I hope to see you again soon!
