Did you know that you can fully personalize your items on the HiveBuzz store?
 Dieser Beitrag ist ins Deutsche übersetzt: hier
 Este post está traducido al español - aquí
 Une version en français de ce post est disponible - ici
Recently, several users have contacted us to find out if it is possible to personalize the items before buying them on the Hivebuzz Webshop.
Of course, the answer was: YES!
And obviously, the next question then was: How?
Therefore, we have created this guide whose purpose is to teach you how to make your item unique in 4 easy steps.
How to customize your items?
1. Open the Customize Tool
You have two options to open the Customize Tool:
- From an item
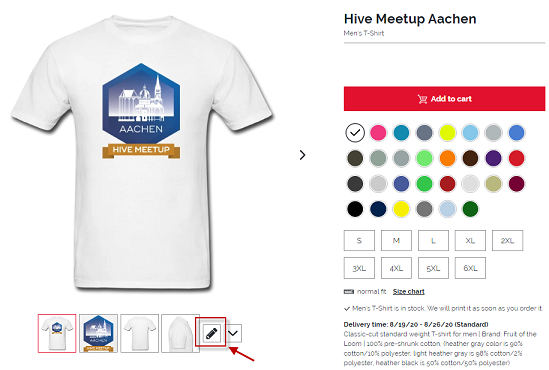
On the HiveBuzz shop, select the item you want to order and customize and click the small pen below the picture
- From the store main menu
Go to the home page and click on customize

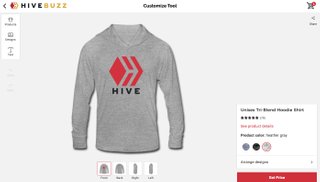
Following either of both options, you will land at the editor where you can customize your article.
2. Choose your Product, Color, and Size
Note: If you had already chosen your product and did not use the menu on the home page (cf. above), you can skip this step and go to the next one.
On the left, you click on Products to see all the options for Men, Woman, Kids/Babies, and Accessories.
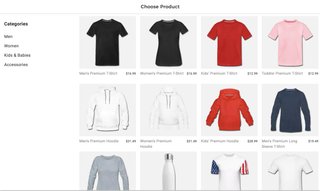
If you click on either of these categories you will get subcategories like T-shirt, Sweatshirt, etc., just below that you can choose the color and size of the article.
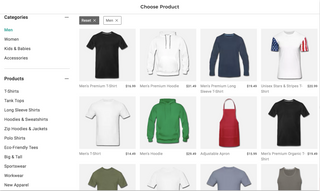
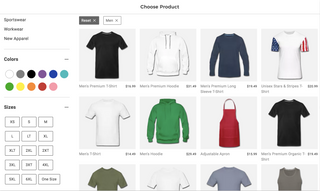
Clicking on the object a window pops up on the right that shows different views of it (front, back, side) and also the colors and sizes available.
If you need more explanation about measures and sizes, scroll down the page.
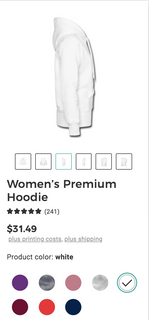
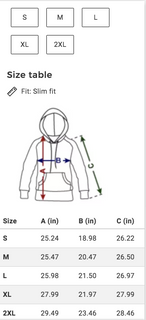
Once you decided on a color and size you click on select and find yourself back at the editor with your selected item.
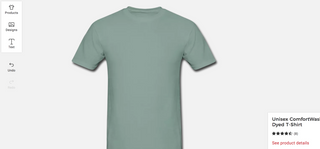
3. Configure your design (back/front)
You can now define which design you want as well as its size and location.
If the preselected design doesn't match your needs, click on the "Design" icon on the left toolbar.
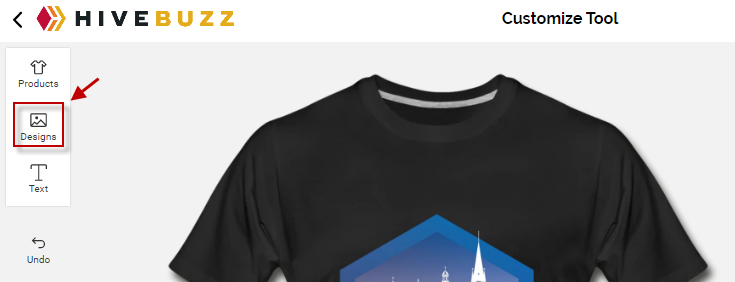
You will then be able to choose one of the available designs.
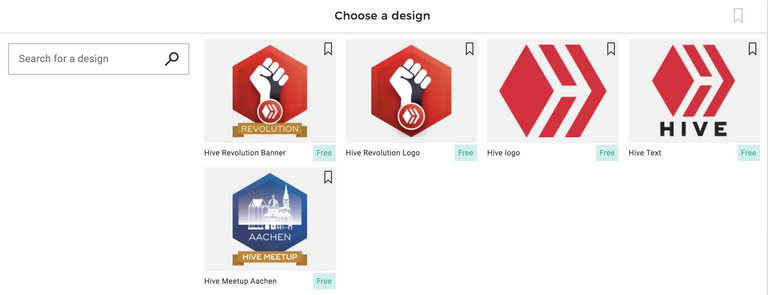
If your favorite HiveBuzz design is not yet available, feel free to contact us and we will do our best to add it.
Once you have chosen the design, you are being brought back to the editor.
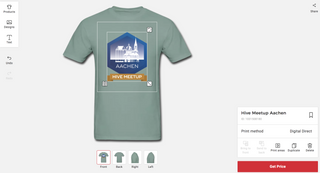
When you click on the design on the item, you can edit it according to your wishes. Duplicate it, delete it, spin it, make it bigger or smaller and place it where it fits best for you.
You can even have two different designs on one item.
Example:
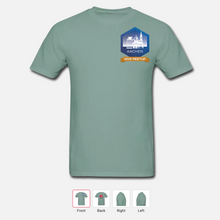
I chose a T-Shirt, green size M. At the front I chose the Hive Meetup Aachen Logo, made it smaller, and put it on the chest right over my heart.
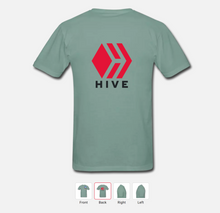
At the back of my T-Shirt, I chose to have the Hive Logo.
So I went back to design, chose the Hive Logo to add it on my T-shirt, click on the back view (below), clicked on "put the design in order" (on the right down), and moved that logo to the back.
4. Add Text (optional)
If you want to add a personal message, a slogan, or your username, here is how you do it.
First make sure you chose the right side of the item (front, back, side), depending on where you want to add the text.
Then click on the "Text" icon on the left toolbar.
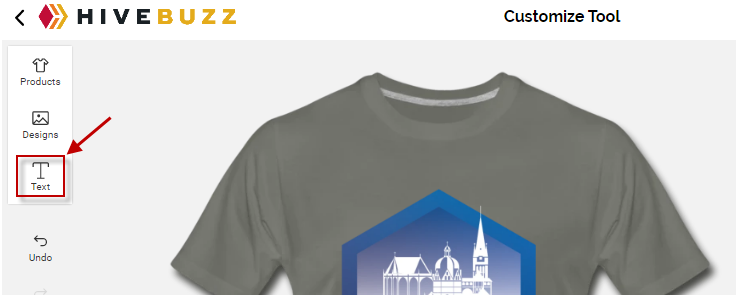
A textbox will popup on your item and the text editor will show on the bottom right of the customize tool.
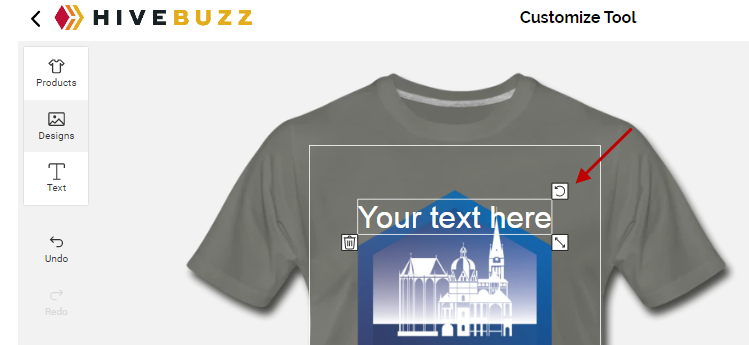
The text field on the shirt works the same way as explained before for designs. You can move, resize, and rotate it.
In the text editor, you can type in your text, choose its color, size, font, and add many other effects.
Example:
I put my account name as text, place it on the back right below the Hive Logo, make it fat, white, choose Comic Sans and bend it down a bit.
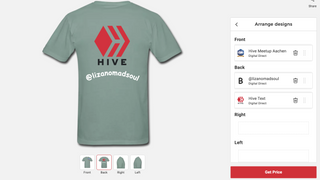
Last step - Order your item
Congratulations, the personalization of your item is complete!
As the work you did may impact the price of the item, if you added several designs, for example, you can now update it price by clicking on the "Get Price" button and then order it.
So what are you waiting for?
Go to the Hivebuzz Webshop, customize your item for the next meetup and show off with it!
We are looking forward to seeing your pictures!
The Hivebuzz Team
