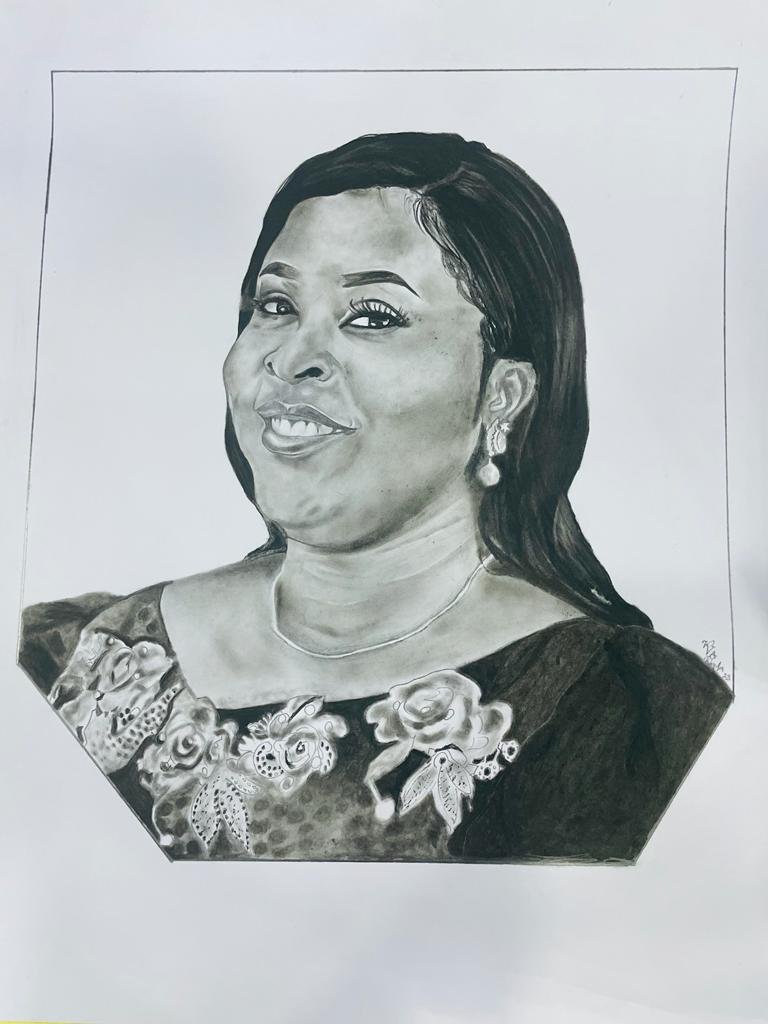
Beautiful morning to you givers, today, I want to share with you a great knowledge on one of my best piece/ hyper realism portrait drawing of a Lady in a beaded flowered gown.
This drawing is old but gem to me and today,I will like to take you through this drawing.
While making this drawing,I could remember I had sleepless nights,had rough times and great challenges as I had a whole lot to put together to create this.
As you all know that I love to use and develop new techniques and concept in my everyday art,I gave my best to making sure that this piece became a full masterpiece of knowledge......
As I have said,OLD but GEM 💎 to me @gems-community @onchainart @sketchbook.bot @sketchbook.human @art @appreciator @qurator @blog-news @photography @alienarthive @ocd @blocktrade @bdcommunity @hive this piece was a very challenging one as the modelled picture doesn't even look as easy to work with because of its low quality but as a visual artist,i choose to make something good and great out of it and heres the result.....
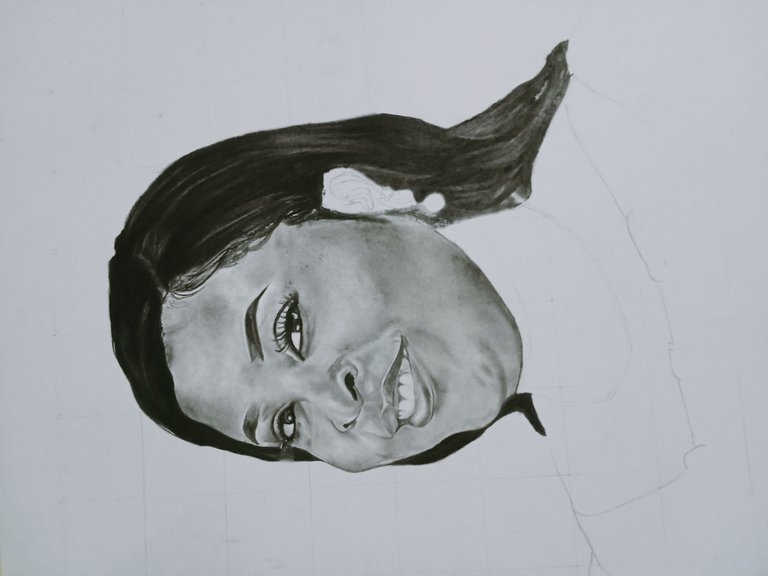
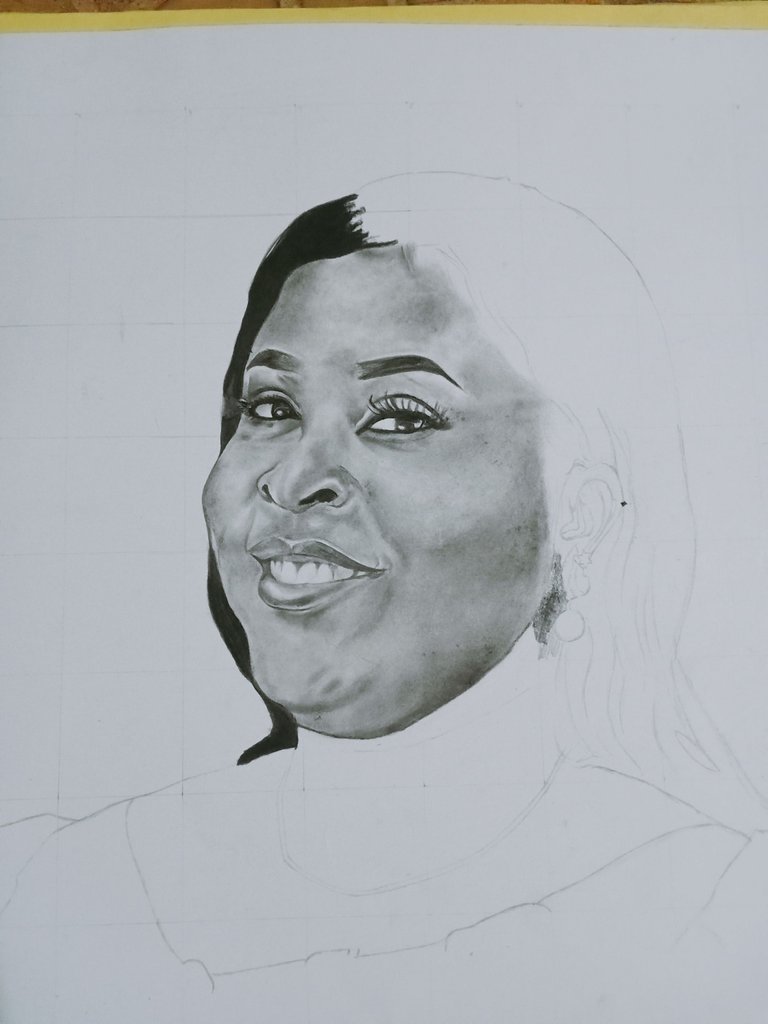
I will be giving a detailed note on how and what process I followed to actualise this......
My picture sequencing might not be as should follow but the pure reason is because I need you to check the flow of how I made it,a closer shot and a sketch shot but I'm sure you will love this post.....
Now let's go through the process:
STAGE 1:
the first thing I did was to study my reference picture and get so much familiar with it and this is because to actualise a hyper realistic drawing,full details of the reference picture must be known. For instance,every dots,curves, contours and others.. so I took great time getting myself fully introduced to the reference picture.
STAGE 2:
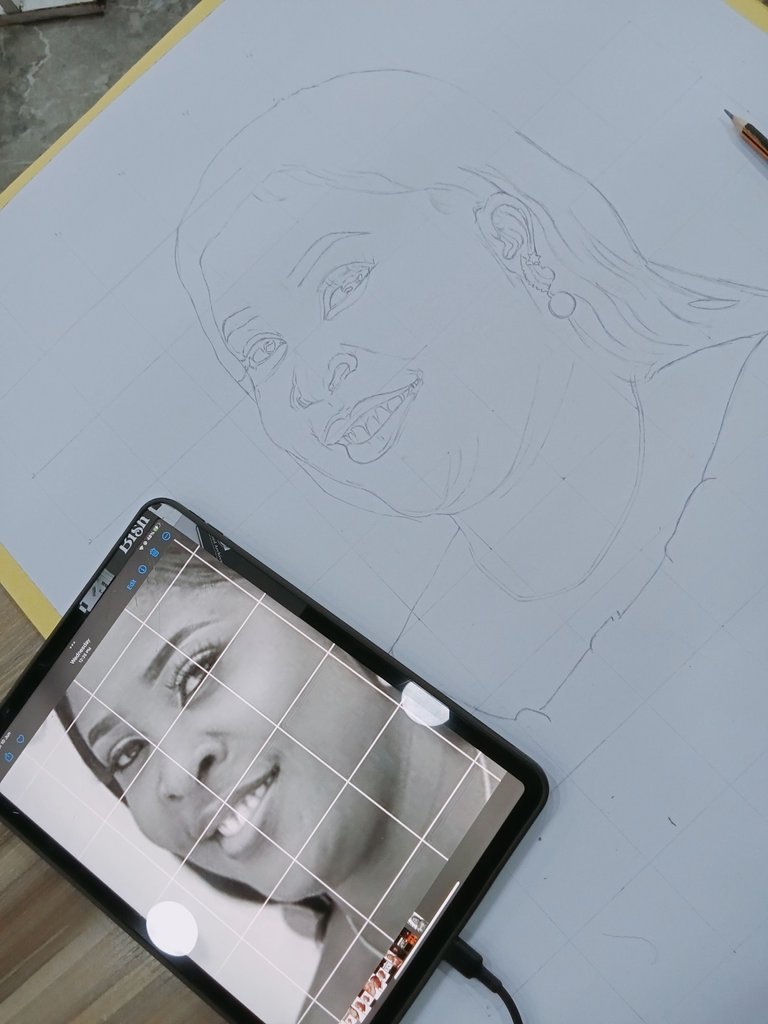
Here, I moved forward to griding my reference picture in boxes with the aid of a mobile app known as GRID DRAWING APP. It's available for download on both android devices and IOS devices. This app is a good one for griding pictures of you have intentions to be a hyper realistic visual artis so feel free to navigate on the app. If you need assistance in using it,I can give you a follow up on it
STAGE 3:
here is getting me closer to the reality of starting my drawing. Tension getting high and hot 😂😂 but don't fret,it's a wonderful experience. I scaled my paper into inches boxes to create the actual size of what I want my drawing to be and this is actually a 16 × 20 inches portrait drawing.
STAGE 4:
OH YES! the sketching started. I started to represent all lines and curves as seen in the reference grided drawing into my scales paper box by box gradually....
I'm sure deep down in you now,you will be thinking of the time that would be spent ok this but trust me,it worths it if truly a realistic portrait drawing you want to create..... The best way to have it.
STAGE 5:
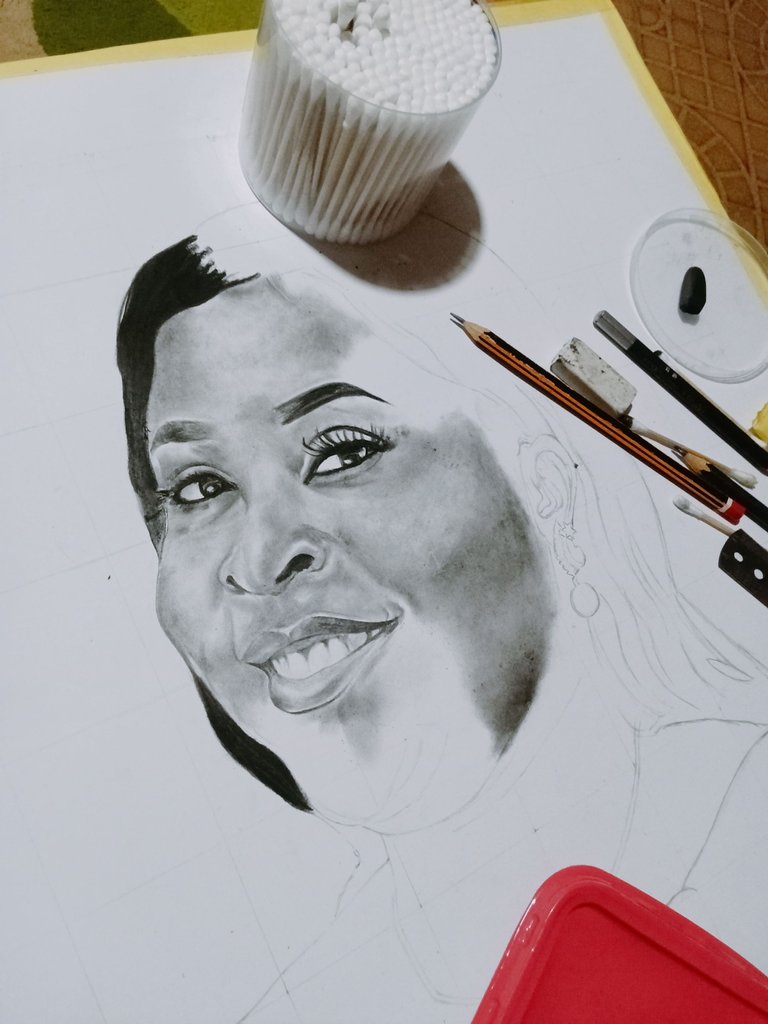
Here,we begin with the shading immediately after the sketching/outline... This is done box by box too and every dots and blues found on the reference picture must be represented accordingly.
Here,this will lead me to listing out the materials I used:
- Reference picture 🖼️
- Alabaster paper 🗞️
- Sketching pencil ✏️ HB
- Ruler 📏
- Eraser
- Tissue paper 🗞️
- Cotton buds
- Blending stumps
- Kneaded eraser
- Sharpener
- Blade
These were the major tools I used to create this drawing. And mind you,all these tools are easily accessible when you need to get them....
PICTURE SHOTS
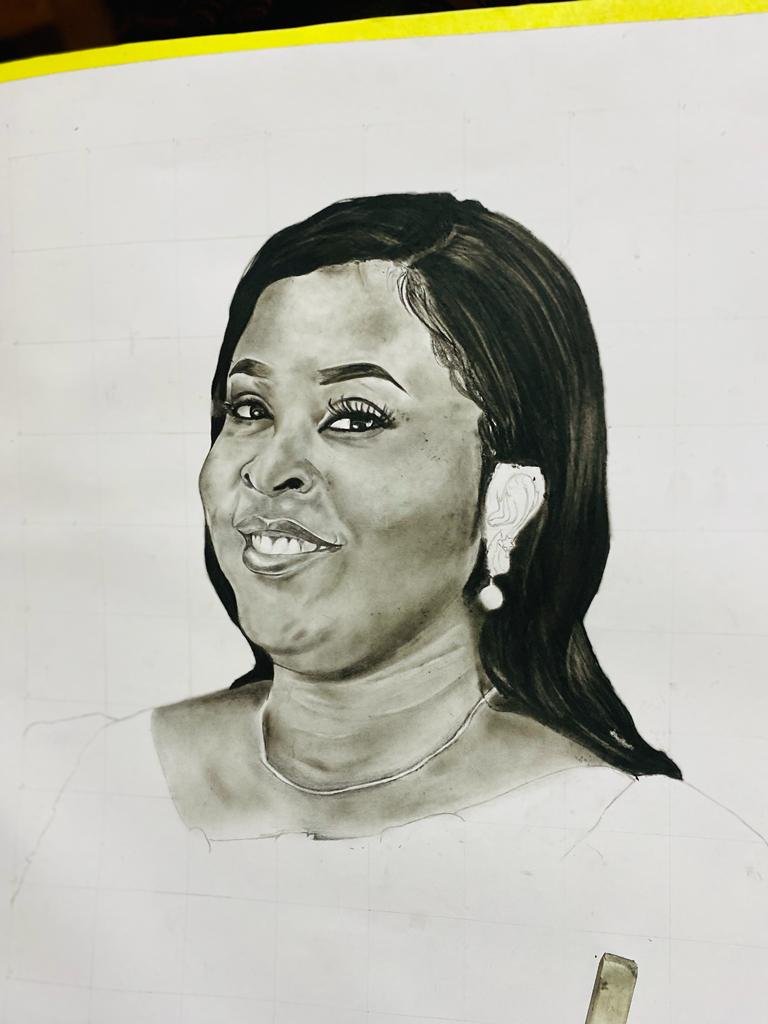
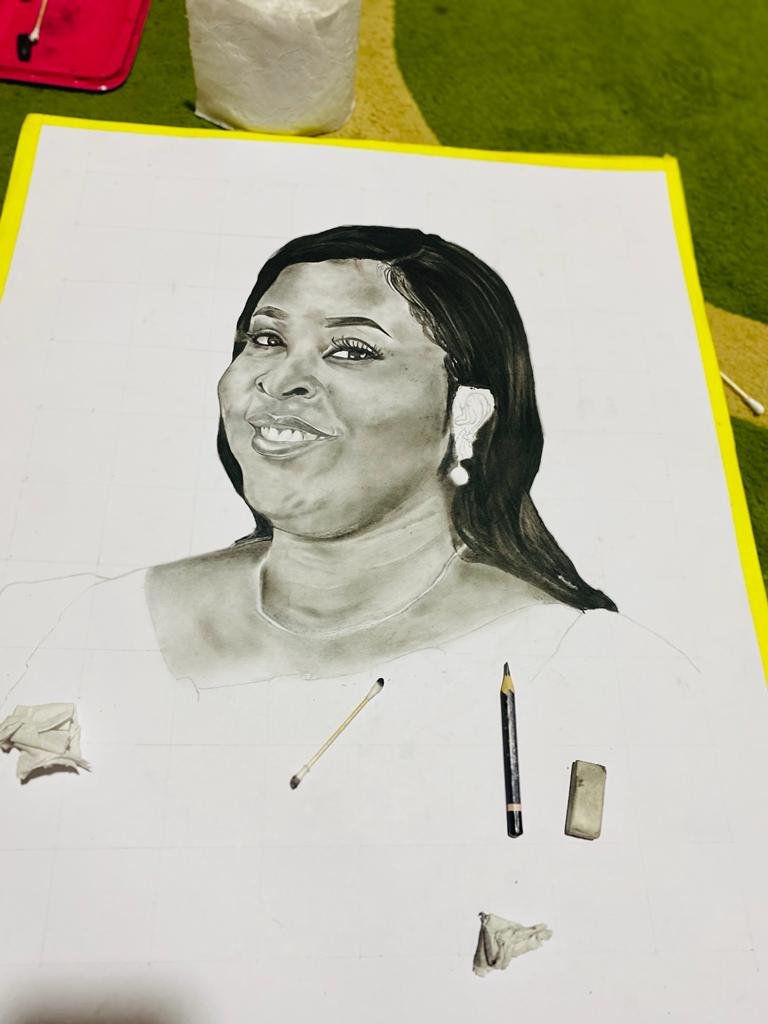
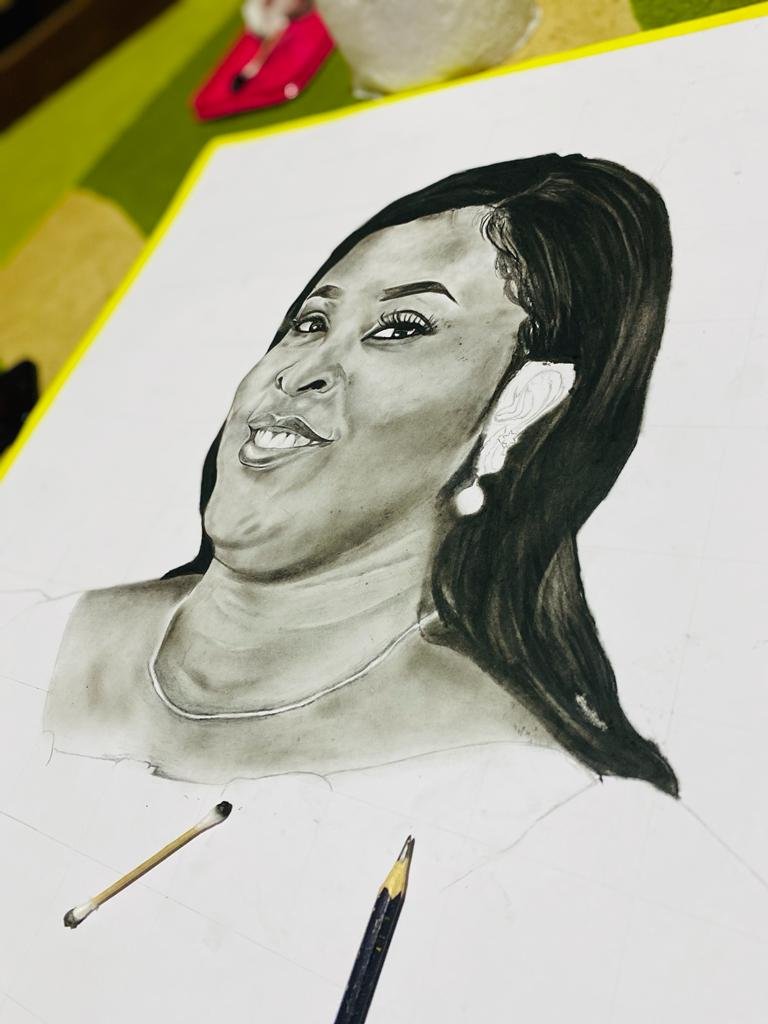
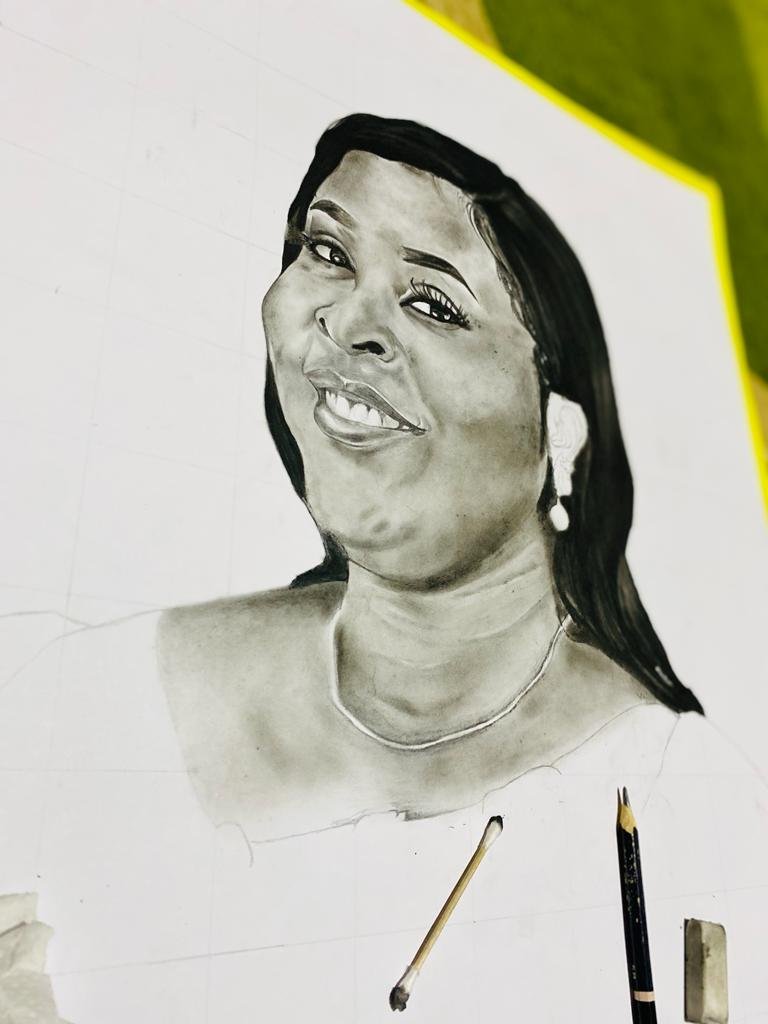
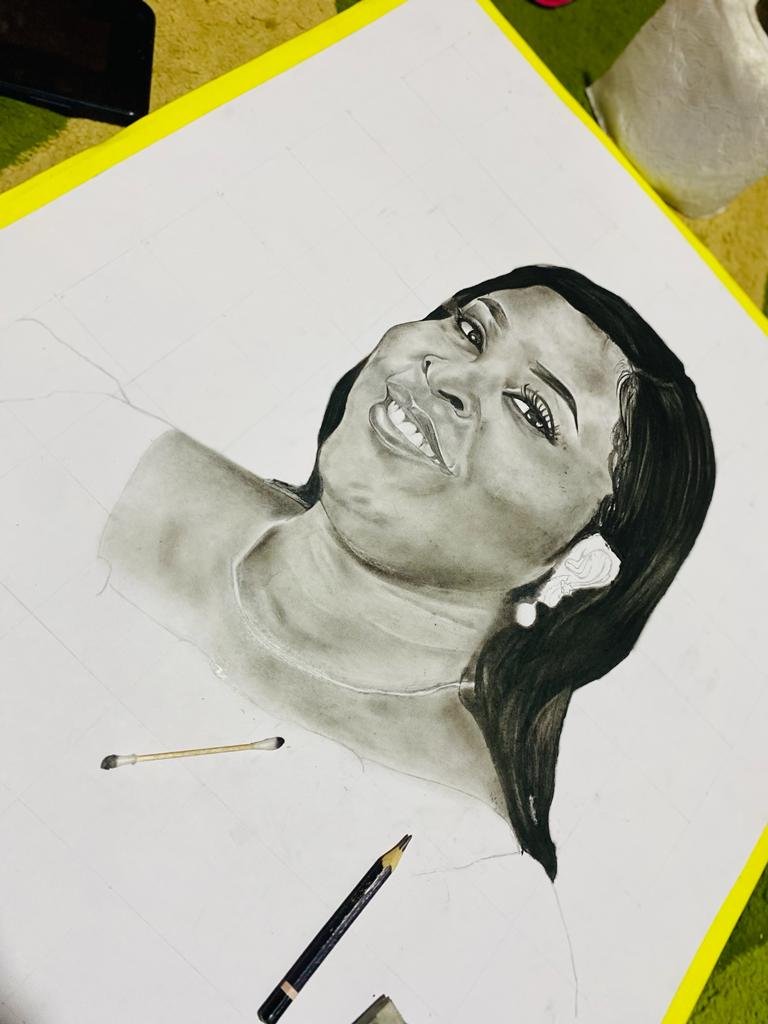
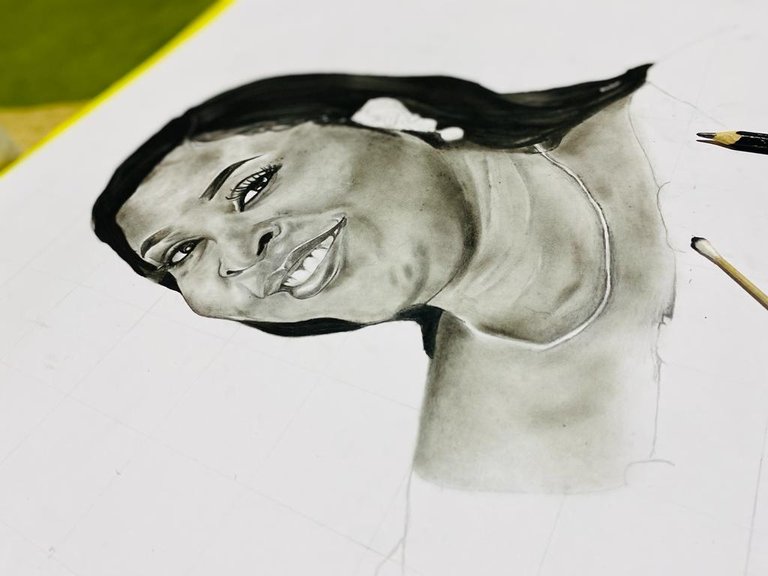
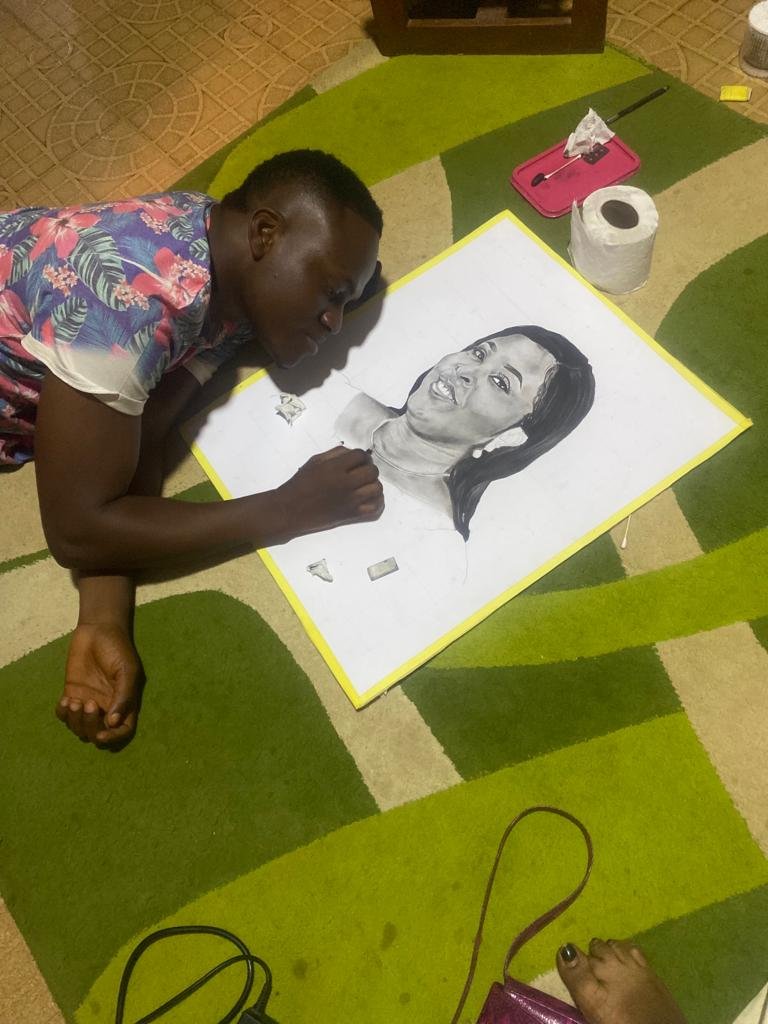
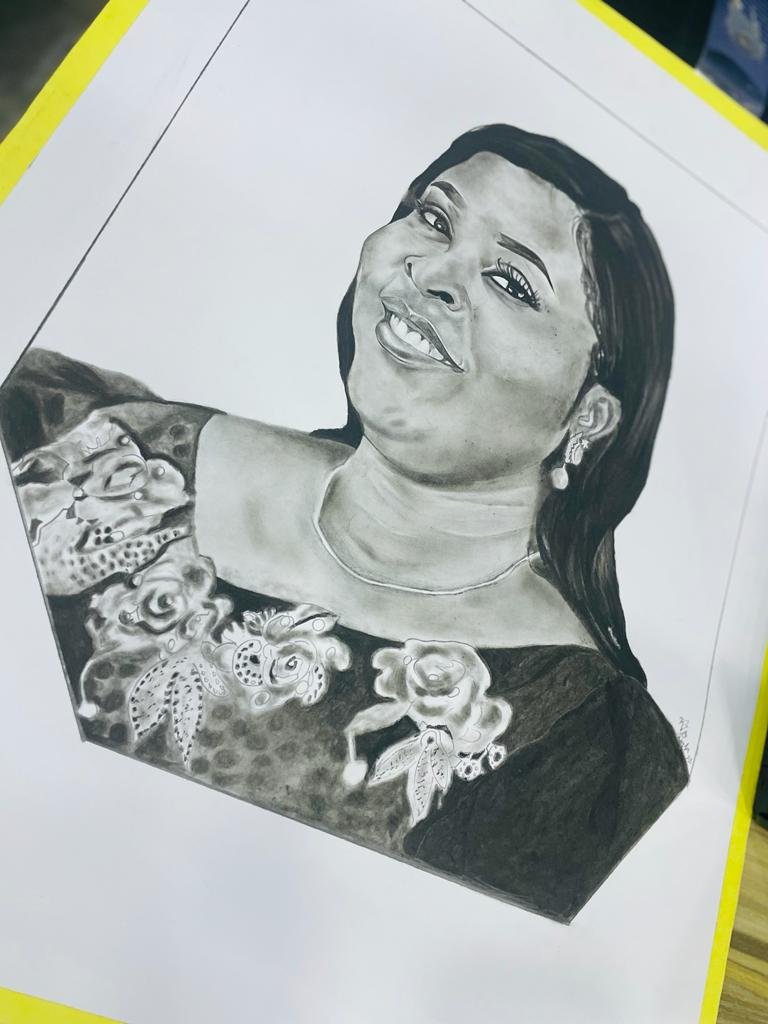
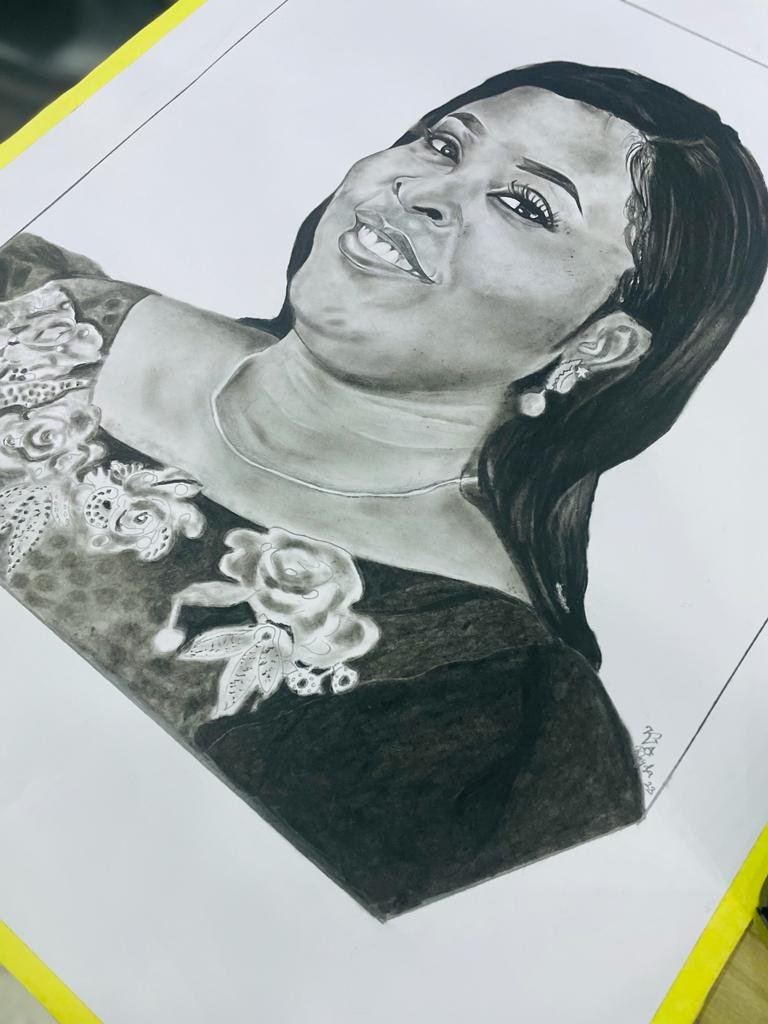
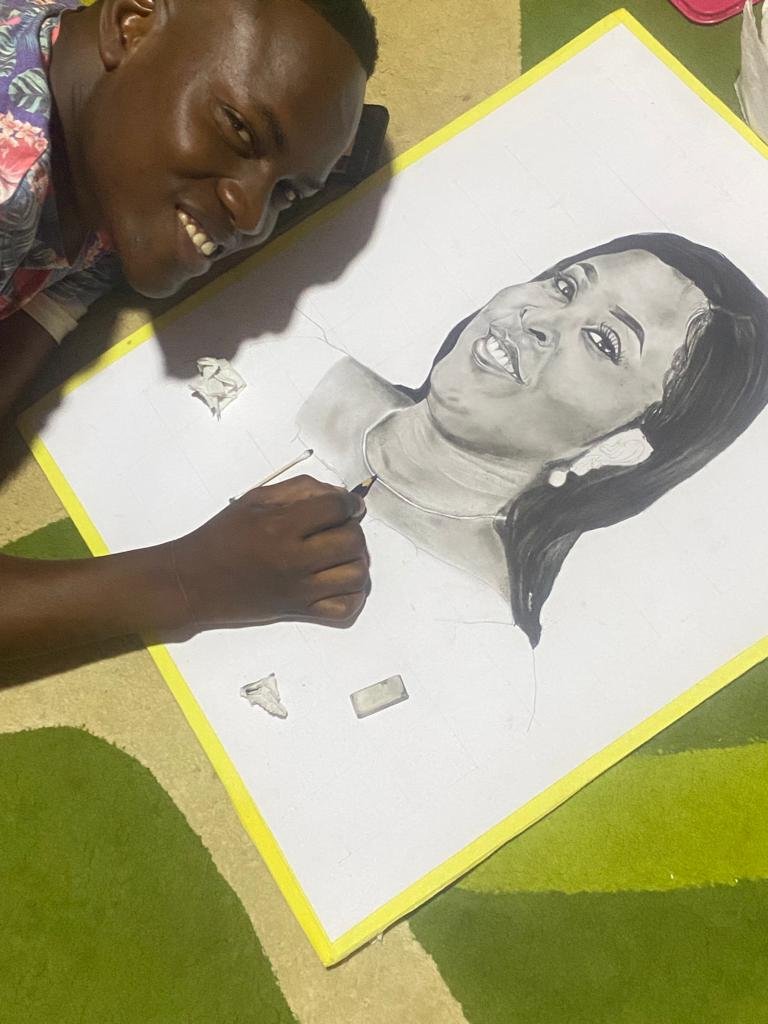
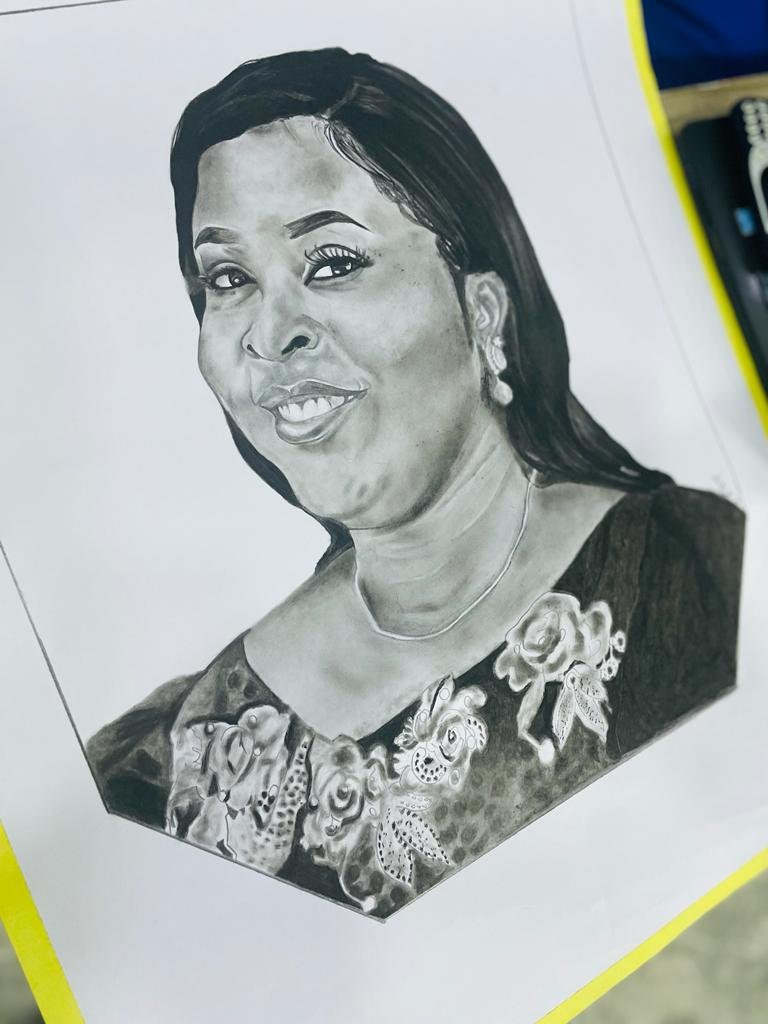
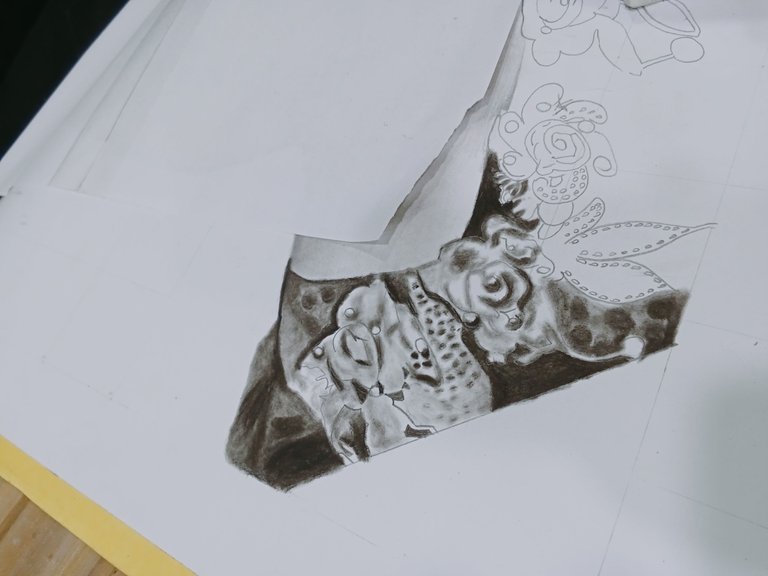
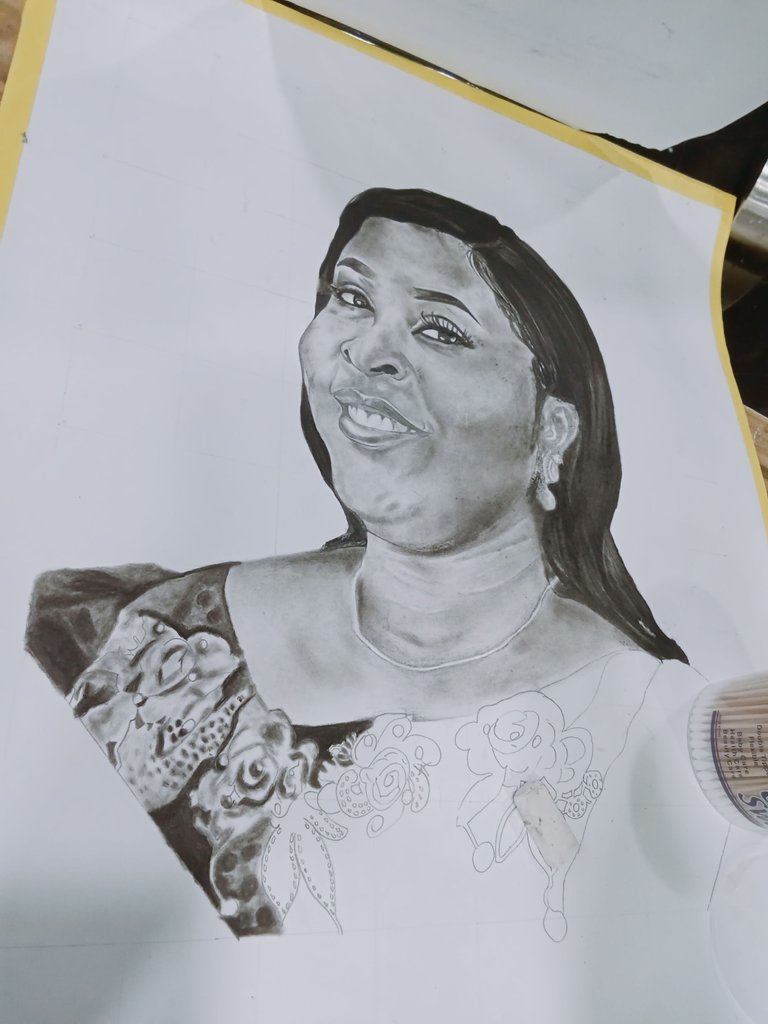
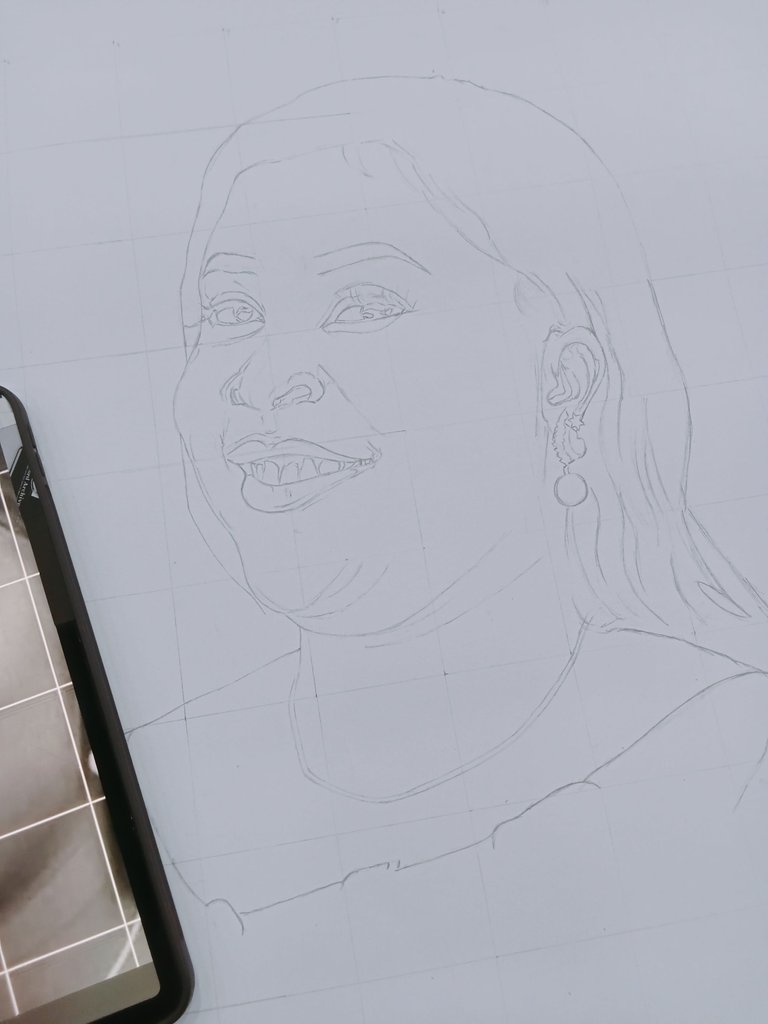
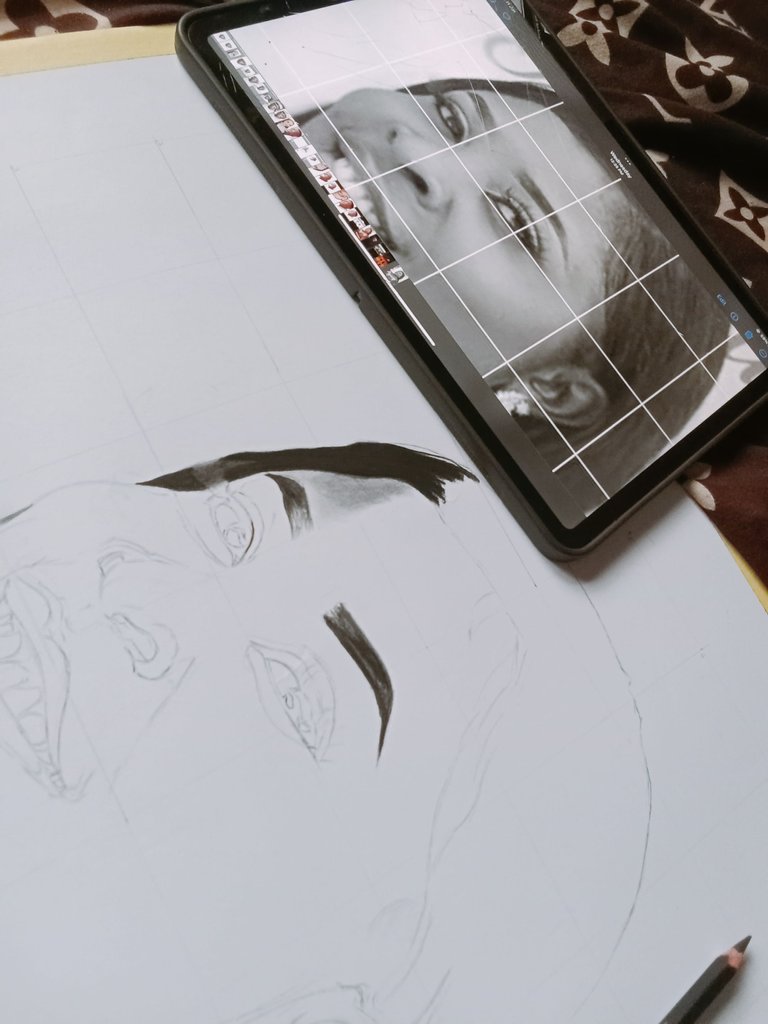
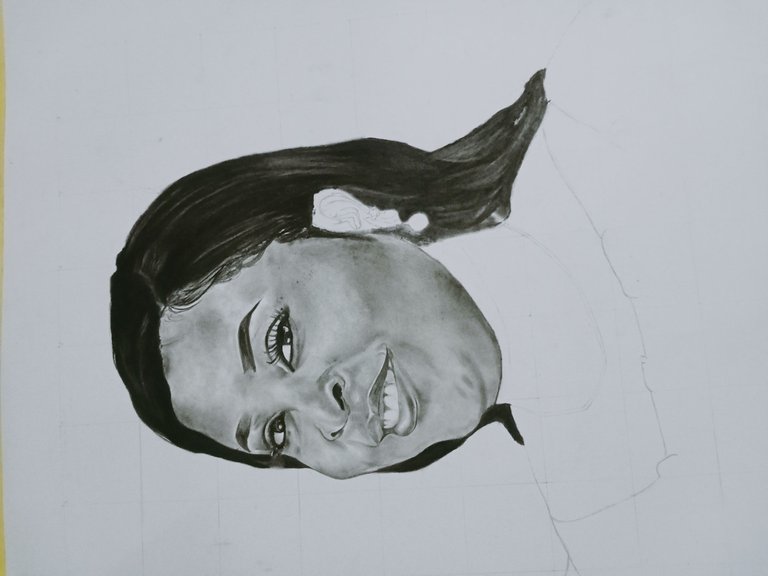

Following this processes,I'm sure anyone can produce a hyper realistic drawing of themselves,friends and families...
I'm available to put anyone through as though if you don't understand the stages well or the use of the equipments mentioned ...

𝐀𝐥𝐥 𝐩𝐢𝐜𝐭𝐮𝐫𝐞𝐬 𝐚𝐫𝐞 𝐭𝐚𝐤𝐞𝐧 𝐛𝐲 𝐦𝐞 @𝐨𝐥𝐚𝐝𝐞𝐥𝐞-𝐚𝐫𝐭.
𝐰𝐢𝐭𝐡 𝐥𝐨𝐯𝐞 𝐚𝐧𝐝 𝐡𝐮𝐦𝐢𝐥𝐢𝐭𝐲, 𝐈 𝐰𝐢𝐥𝐥 𝐠𝐫𝐞𝐚𝐭𝐥𝐲 𝐚𝐩𝐩𝐫𝐞𝐜𝐢𝐚𝐭𝐞 𝐲𝐨𝐮𝐫 𝐬𝐮𝐩𝐩𝐨𝐫𝐭 𝐢𝐧 𝐮𝐩𝐯𝐨𝐭𝐞𝐬, 𝐜𝐨𝐦𝐦𝐞𝐧𝐭𝐬 𝐚𝐧𝐝 𝐫𝐞𝐛𝐥𝐨𝐠𝐬.
𝓣𝓱𝓪𝓷𝓴 𝔂𝓸𝓾 𝓼𝓸 𝓶𝓾𝓬𝓱
𝓘 𝓐𝓜 𝓞𝓛𝓐𝓓𝓔𝓛𝓔-𝓐𝓡𝓣

